Putting on the Faceplate:
I pressed the faceplate to the frame, made sure the monitor/diskdrive were positioned properly. To afix the faceplate on to the frame, I predrilled (with a hand-pumping drill) about 3 holes through the foam, into the wood on each side through the bevel.
Flat-headed screwed are then sunk through this deeply enough that I used the latex foam to cover over the holes they made.
I affixed the bolts on the corners, as well as the plastic bubble (from a vend
ing machine, I painted it silver from the inside) just for looks.
Spare wood from My garage was measured with slightly larger dimensions than the terminal's frame. This, after it was cut, became the casing. It was simply affixed using screws.
Spraying the latex foam all along the edges of the faceplates foam, and the higher wooden casing. I used a Plaster spade to blend the latex foam; hiding the seam between the faceplate/wood. This ends up looking like the faceplate was soldered to a case, once it is painted.
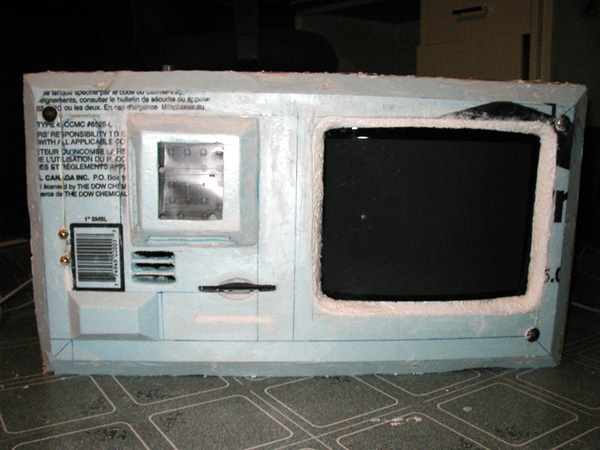
The monitor still needs the gaps between the foam and it filled in. I taped off the monitor as a precaution.
I used the Latex Foam to spray around the monitor, let it dry a bit, then trimmed the clumpy foamy-foam into a proper bevel using the exacto-knife.
After it had all dried, I removed the tape and trimmed any excess that detracted from the monitors appearance.
|