Help Details:
Author: Jeff Schwartz aka DOA. C Lund did some tweaking.
Notes: This is one of the best levels of the scenario (imho), and also the most intricate. It's a pity DOA didn't make more than two solo levels for Rubicon. He made tons of network levels for us though.
Mission Type: Retrieval
Walkthrough:
Waypoint 4:
Waypoint 18:
Secrets:
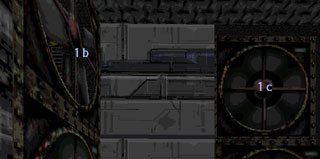
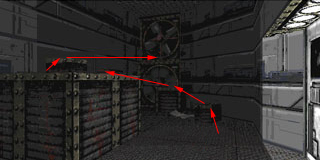
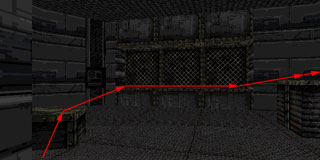
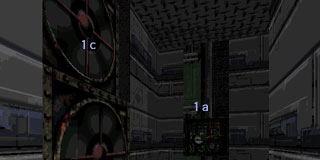
Secret 1a and 1c:
Secret 1b and 1c: