The first EVER walkthrough
of the Marathon beta from Janunary '94. Thanks to Raul Bonilla <lassonde@hotmail.com>
for this blast from the past. Raul writes:
I wasn't able to take screenshots from any of the macworld sf jan '94 betas (the Command-5 code didn't work.) I was able to take one shot from the preferences window (beta_prefs.gif - 48 k. Look how odd the colors turned.) So I wrote a little walkthrough. Hope it'll be useful.I'm also including a saved game from the beta (barrels_level_2 - 4k.)
I played the Marathon beta -which seems to be the more stable- under MacOS 8.6 with QuickTime 4 and without MacsBug.
CONTROLS
Tab Option - Action
Arrow keys
Numeric keypad
P, ";", L and ' keys - MovementSpace Bar/Enter/Return - Fire
X and C keys
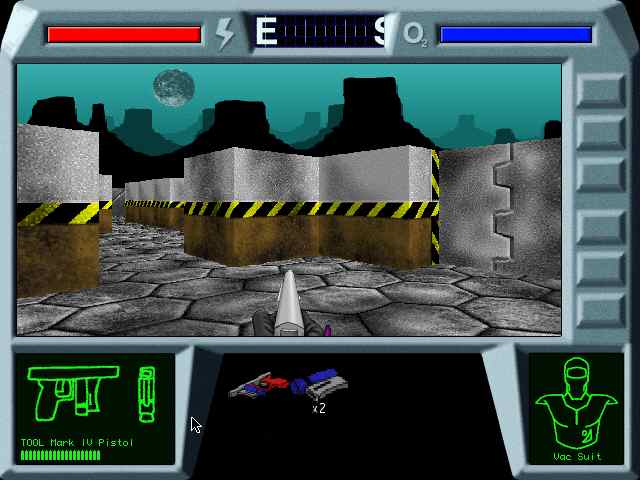
"[" and "]" keys - Sidestep1 key - Selects the Tool Mark IV pistol
2 key - Selects the SPNKR-25 Auto Cannon
3 key - ?
4 key - 100% screen
5 key - 75% screen
6 key - 50% screen
7 key - ?
8 key - floor texture on/off
9 key - low resolution on/off (disabled in marathon.fat)Command-S - Save game (not recommended in marathon.fat. See below)
Command-O - Open saved game (will crash marathon.fat)
Command I - Preferences (works only in the Marathon beta. The other 2 betas crashed. The sound options doesn't work. The default seems to be 3 sound channels)
***
GENERAL NOTES:
- There are a group of six buttons besides the action window. The only one that works is the 3rd, counting from the lowest to the highest. It takes you to the beginning of the game -it doesn't restart your saved game (don't use it too often.)
- I didn't found a map key in this betas or anything that restores your energy or oxygen.
- Under QuickTime 3.0 and later, the player continue to stay alive long after he run out of oxygen.
- As in Wolfestein, you produce more damage and use less ammo when you shot the monsters from a short distance.
- The landscape picture of the betas works in a different way that it does in the final version of Marathon. One of the 2 moons, the mayor, is always looking north while the minor is always looking east. They're not repeated.
***
LEVEL 1
1. Turn south. Open the door, get into the room and open the next door (notice the "Grendel Lives" graffiti besides this 2 doors.) A monster will show up (what's that sound? A Hunter?) Kill it.
2. Go back to the first room. Turn east. In the next room, there'll be a door, south, between 2 barrels. Kill the monster behind this door.
3. Go east. You'll get to a room with 2 doors (east) and a corridor (south.) The corridor leads to a room with 2 monsters. Kill them.
4. Go back to the 2 door room. Both doors will lead you to a room with 2 monsters, a door (east) and a corridor (south) with 2 more monsters. Kill the monsters, take the corridor.
5. You'll get to a room with a door (east) and another corridor (west.) Take the corridor. Now turn around and kill the monster that show up behind the east door. Take the SPNKR-25 Auto Cannon and the 2 energy packs for the cannon. Go back and cross the door were the monster showed up (east).
6. This next room will have 2 doors; one east, one south. More baddies will come out from both doors. If you take the east door you'll return to the first 2 door room, but in the way you'll find 3 more energy packs for the laser cannon (by this moment you should be running out of ammo for the pistol. Notice that the weapons won't change once you have run out of ammunition and that you can still select the pistol even if you don't have clips for it.) If you take the south door you'll get to a room with another 2 doors. One is south, close to you, the other is south-west, in the opposite corner. You'll find a clip for the pistol in the room behind the south door and another door, south-east, behind a wall. This door will lead you to 3 monsters.
7. After you've killed the monsters, go back and take the south-west door in the opposite corner of the previous room. This door leads to a large open room with a group of barrels south-east and 2 doors south-west (one is visible from the entrance.) There's a 3rd door in a corner after the barrels (east,) and a corridor (south) with 3 more doors. A good deal of monster will come after you when you step into this room. Be prepare to dodge slime balls.
8. Lets take the door in the east corner after the barrels. It takes you to a room with a door (east) and a hidden clip for the pistol behind a corner (north-east.) This door takes you to a corridor with a door at both ends (one south-east, the other west.) The south-east door leads you to a room full of barrels, another clip for the pistol and 5 monsters.
9. Go back and take the west door. You'll find yourself in the corridor with 3 doors. The door in front of you (west) takes you to a room with another clip for the pistol. The door to your left (south) takes you to the exit. It have a slime ball on the floor (the only one in the level.) The 2 doors marked as south-west in point 7 will be now north-west. Both takes you to even more monsters and back to the room were you started. There are 3 more clips for the pistol in this section of the level.
***
LEVEL 2
1. As soon as you move you'll pick up a clip for the pistol. Use it to kill the monster in the south east corner. The door (south) and the corridor (east) will take you to the same corridor. West this corridor there's a room with one monster and a dead end. The door in this corridor (south east if you take the door, south west if you went the other way) takes you to another corridor.
2. From here you have 2 choices: you can go east, you can go west. Going west takes you to 4 monsters; in the end of that section there's a clip for the pistol. Going east takes you to a door (north east) with a monster behind it, and if you go further you'll find another door (south east.)
3. Take the first door. If you go east you'll end in front of the second door. Go north west. There'll a long corridor with one monster. At the end of this corridor there's a door (east) that leads to a room with 3 monsters. Now go back and take the second door.
4. There's a "L" shaped room after this door with 2 monsters, a clip for the pistol in the north east corner and a door near the south east corner. Beyond this door is another "L" shaped room with a door (north east.) This door is part of a series of 5 doors put one after the other. As you may have guessed, there's a monster behind the 5th door (followed by another 2.) In the south east corner of this section there's a corridor blocked by 3 barrels. Under some circumstances you can walk through this barrels. I don't know what triggers it. I'm including a saved game where you can walk through the barrels (barrels_level_2 - 4k.)
So where's the exit? Seems there is no exit. As I wrote to you before, the STR# and MŠP resources of the map clearly show that there are 8 levels. But if you play any of the betas with QuickTime 2.5 or earlier, you'll run out of oxygen before completing the 2nd level. Since these betas where showed as demos in the 1994 MacWorld Expo, it's logic that they have only 2 playable levels. Maybe Bungie opened space for the other 6 six levels, but they never included them.
Can you get further? Can you take screenshots of your walkthrough?
Thanks to Craig Fay <DurandalM3@aol.com> for sending in these screenshots from the Marathon
Beta SF Jan'94


Thanks to Robert Zimmermann <robzim@gmx.net> for sending in these screenshots from the Marathon
Beta SF Jan'94. Robert writes:

hunter.jpg: I do not know if it is the Hunter but it just sounds like it.

marafat.jpg: Grendel lives?
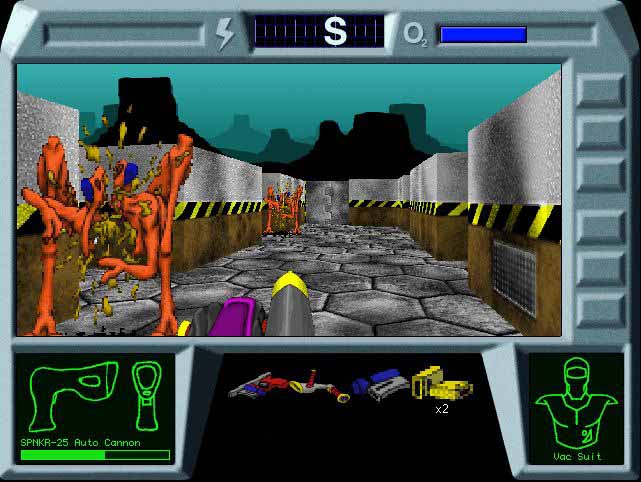
spankr.jpg: an early version of the missile launcher.